Running Yosemite inside VirtualBox reveals quite some quirks of VirtualBox which result in some Apps not running at all or unsatisfying, especially things relying on 3D acceleration and sound come to my mind here. More on this later.
The Installation
Downloading the software
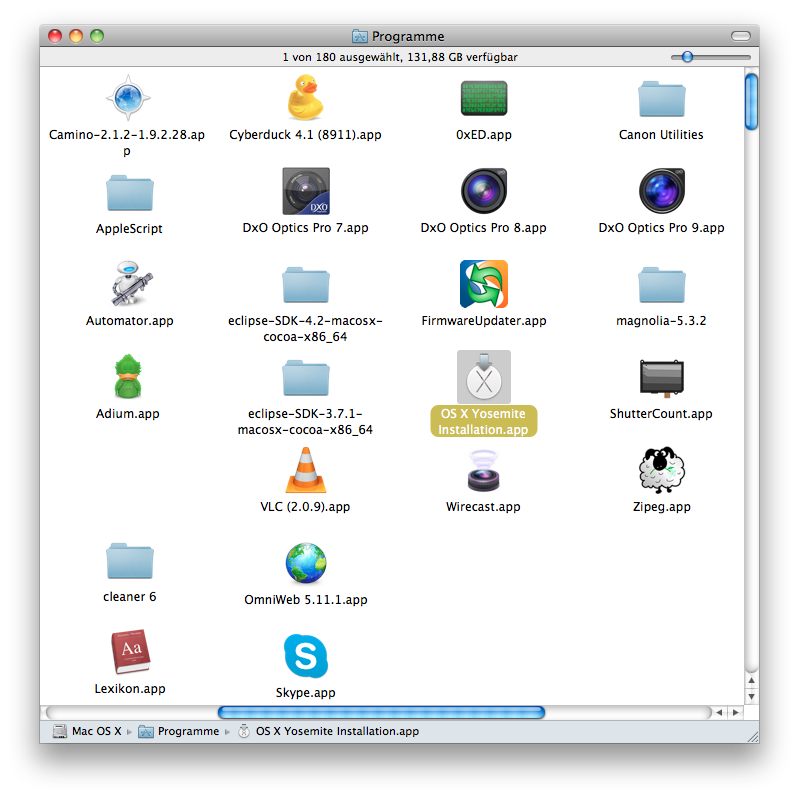
At first you need to download "Install OS X Yosemite.app" from the App Store of course. And you need to download and install VirtualBox from https://www.virtualbox.org/wiki/Downloads if you haven't done so already.
Preparing the ISO image
Since VirtualBox needs an ISO image to boot from you need to create one from the downloaded "Install OS X Yosemite.app"
For this purpose I basically adapted the script found here:
http://forums.appleinsider.com/t/159955/howto-create-bootable-mavericks-iso
with stuff from here
https://tekshrek.com/os-x-yosemite-clean-install/
 #!/bin/bash

 # Mount the installer image
 hdiutil attach /Applications/Install\ OS\ X\ Yosemite.app/Contents/SharedSupport/InstallESD.dmg -noverify -nobrowse -mountpoint /Volumes/install_app

 # Convert the boot image to a sparse bundle
 hdiutil convert /Volumes/install_app/BaseSystem.dmg -format UDSP -o /tmp/Yosemite

 # Increase the sparse bundle capacity to accommodate the packages
 hdiutil resize -size 8g /tmp/Yosemite.sparseimage

 # Mount the sparse bundle for package addition
 hdiutil attach /tmp/Yosemite.sparseimage -noverify -nobrowse -mountpoint /Volumes/install_build

 # Remove Package link and replace with actual files
 rm /Volumes/install_build/System/Installation/Packages
 cp -rp /Volumes/install_app/Packages /Volumes/install_build/System/Installation/

 # Copy Base System
 cp -rp /Volumes/install_app/BaseSystem.dmg /Volumes/install_build/
 cp -rp /Volumes/install_app/BaseSystem.chunklist /Volumes/install_build/

 # Unmount the installer image
 hdiutil detach /Volumes/install_app

 # Unmount the sparse bundle
 hdiutil detach /Volumes/install_build

 # Resize the partition in the sparse bundle to remove any free space
 hdiutil resize -size `hdiutil resize -limits /tmp/Yosemite.sparseimage | tail -n 1 | awk '{ print $1 }'`b /tmp/Yosemite.sparseimage

 # Convert the sparse bundle to ISO/CD master
 hdiutil convert /tmp/Yosemite.sparseimage -format UDTO -o /tmp/Yosemite

 # Remove the sparse bundle
 rm /tmp/Yosemite.sparseimage

 # Rename the ISO and move it to the desktop
 mv /tmp/Yosemite.cdr ~/Desktop/Yosemite.iso
Adjust the paths in the script if necessary (e.g. if you have moved the "Install OS X Yosemite.app") and save this script as "prepare_yosemite_iso.sh". Then you cd in Terminal.app to the directory where you saved the script and make it executable with
chmod 755 prepare_yosemite_iso.sh
and run it like this:
./prepare_yosemite_iso.sh

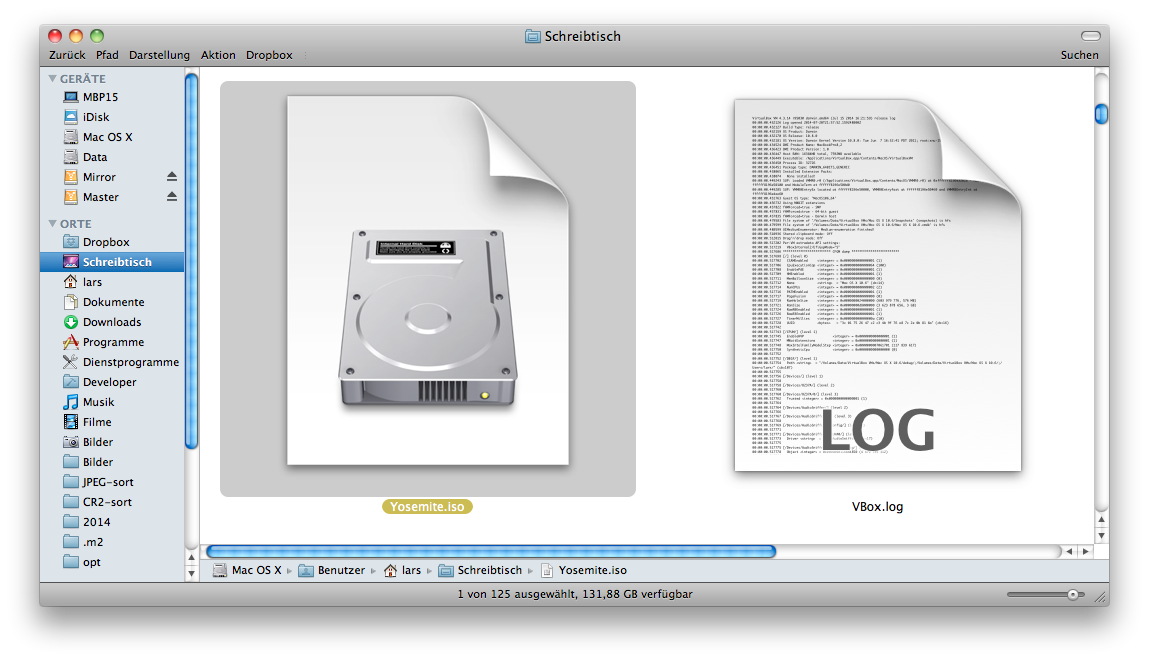
Then you'll find a file called Yosemite.iso on your Desktop. This is the ISO image you need to boot from in VirtualBox later.
Setting up the virtual machine in VirtualBox
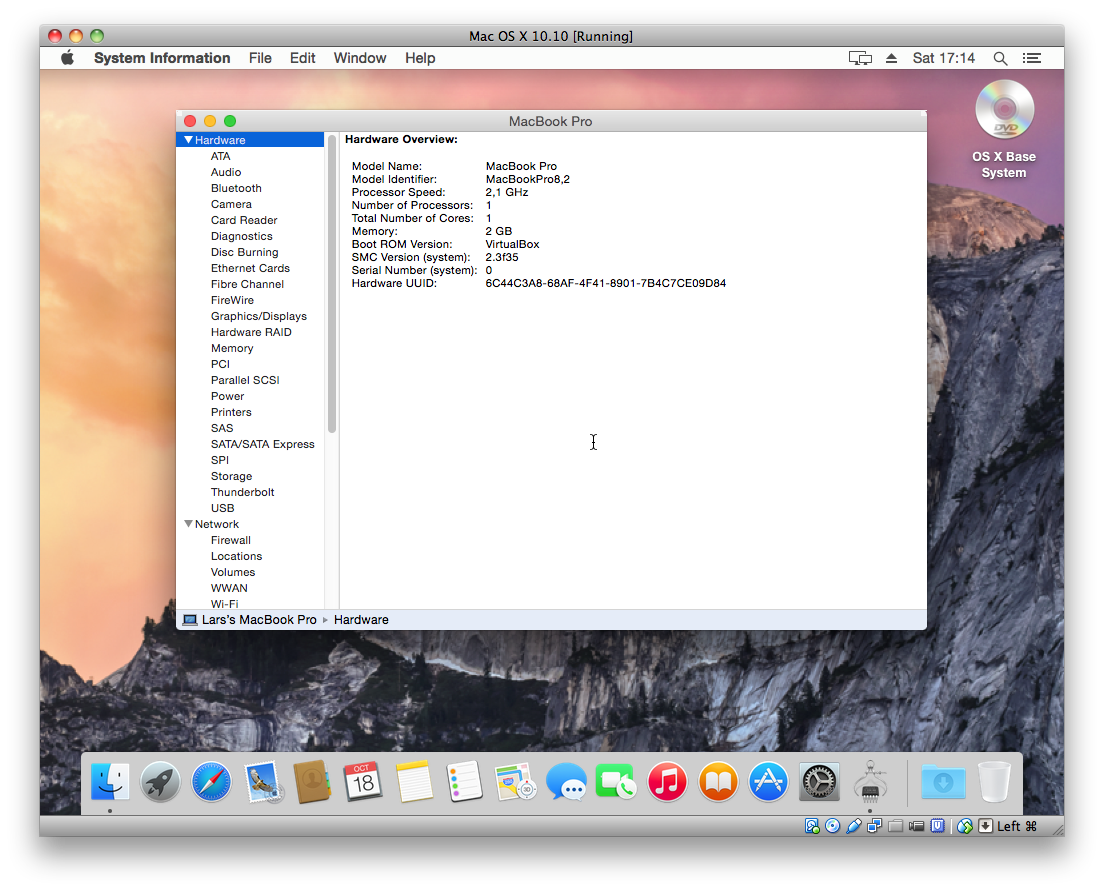
The next thing to do is to set up a virtual machine in VirtualBox. Since the latest version of VirtualBox available at the moment (version 4.3.18)

has no build in support for Yosemite we'll set up a virtual machine for Mavericks which will work just fine.
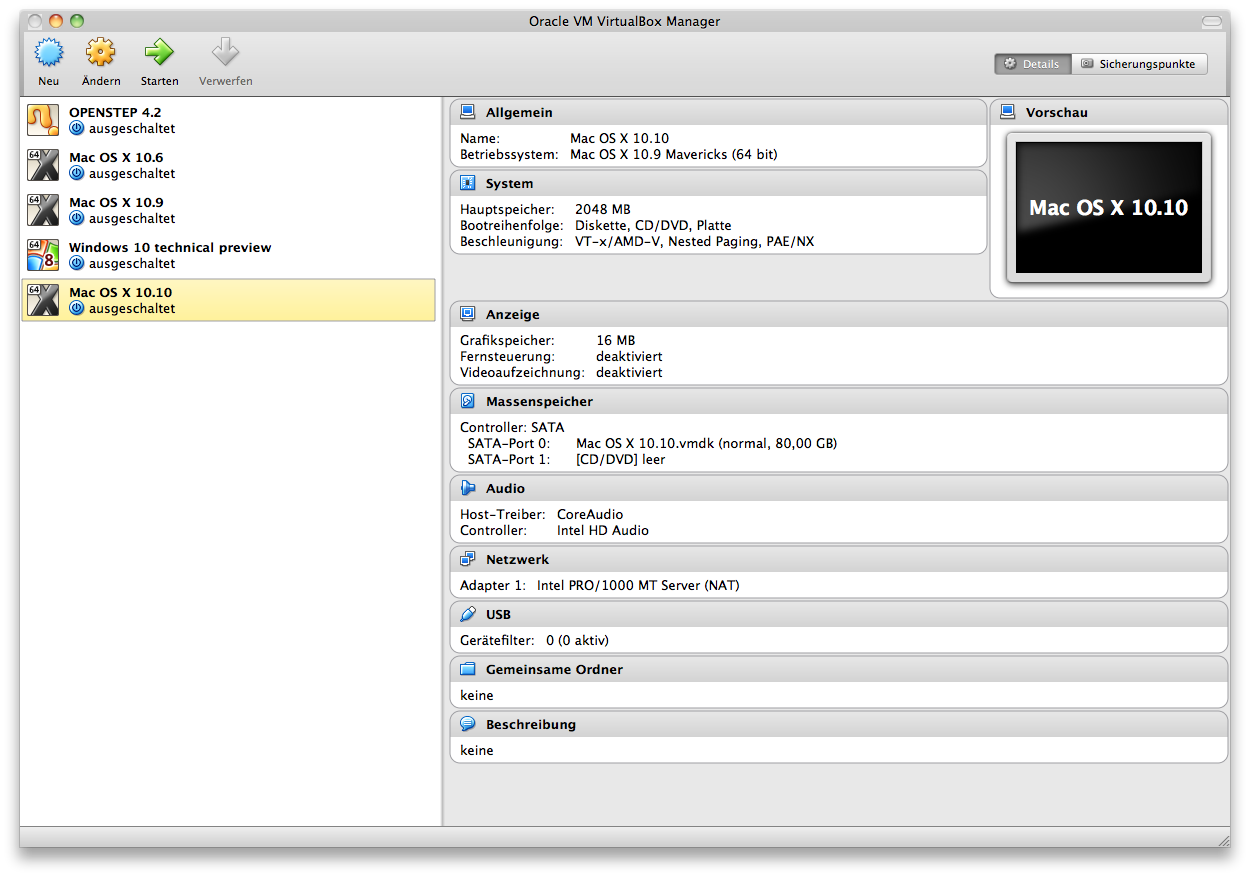
For this just click on "New" inside the VirtualBox Manager
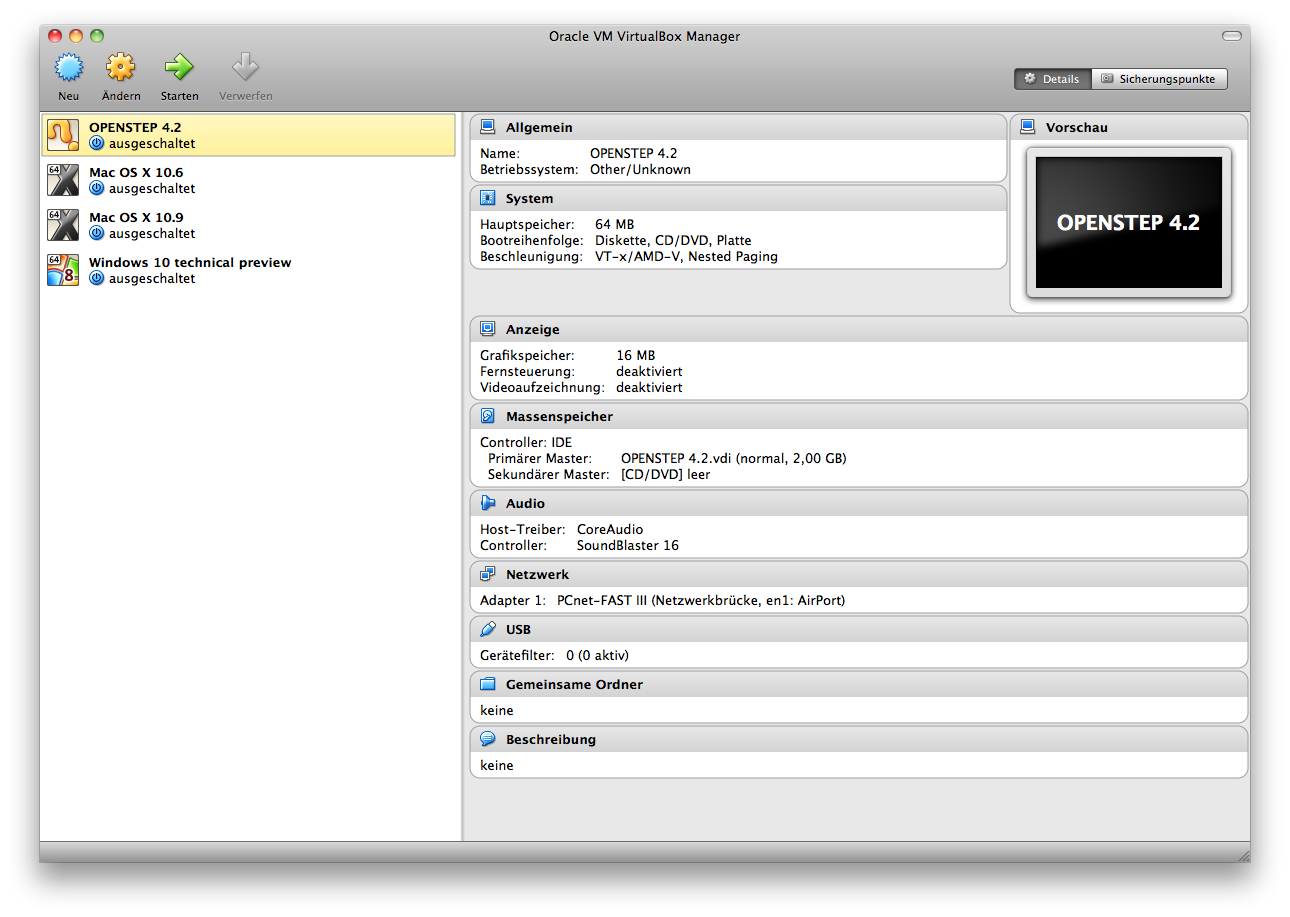
and choose a name for your virtual machine. Set the type to "Mac OS X" and the Version to "Mac OS X 10.9 Mavericks (64 bit)".

Follow the steps of the assistant and leave everything as is, especially the RAM setting since a bug in the UEFI of VirtualBox blocks you from assigning more RAM (the virtual machine simply won't boot, see https://www.virtualbox.org/ticket/13211 ).

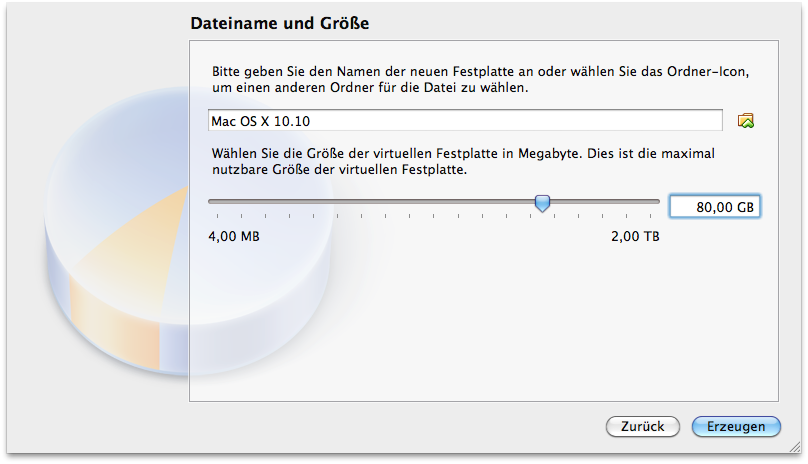
The only exception is the format and the size of the virtual hard disk you create, you'll probably prefer the VMDK format over the VDI format since that format can be used with other types of virtual machines (not VirtualBox ones) too


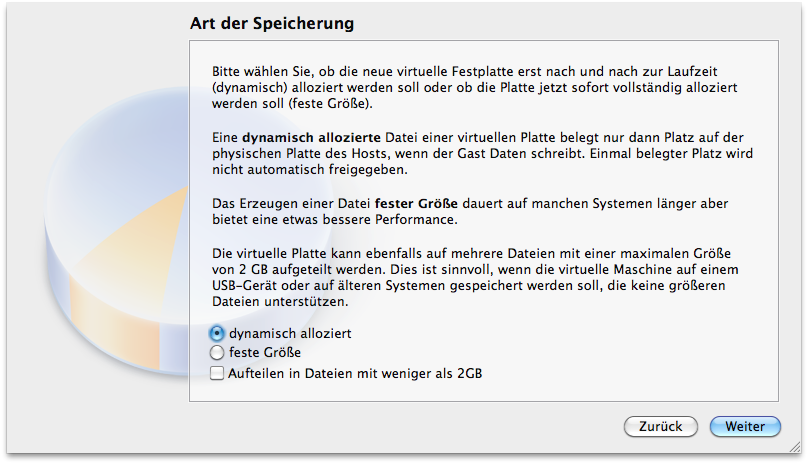
and you better choose a size that exceeds 80GB of maximum size (this size isn't a problem since this amount of storage space isn't allocated right now but the disk grows dynamically in size as needed).
After this step your virtual machine is set up and ready to boot.
Installing Yosemite
Boot up your virtual machine by clicking on "Start". A dialog panel will appear which asks for a "virtual optical disk file". Here our ISO image comes into the game. Click onto that small yellow folder icon next to the pop up button.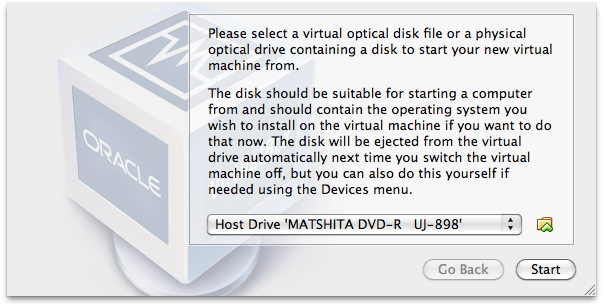
Now select the Yosemite.iso created in the first step
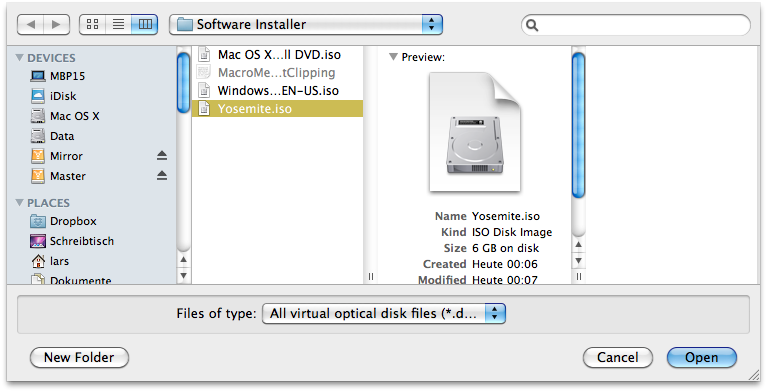
and click the "Start" button.

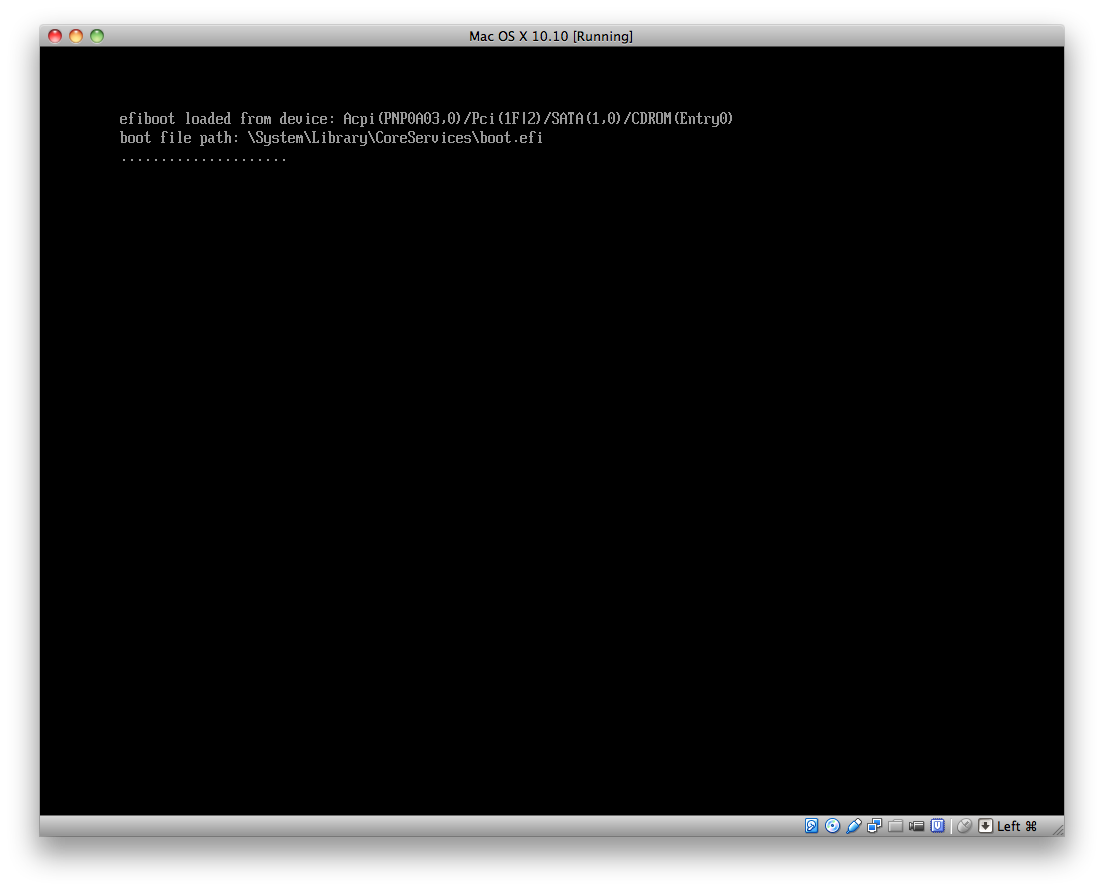
Now at first the EFI boot loader runs
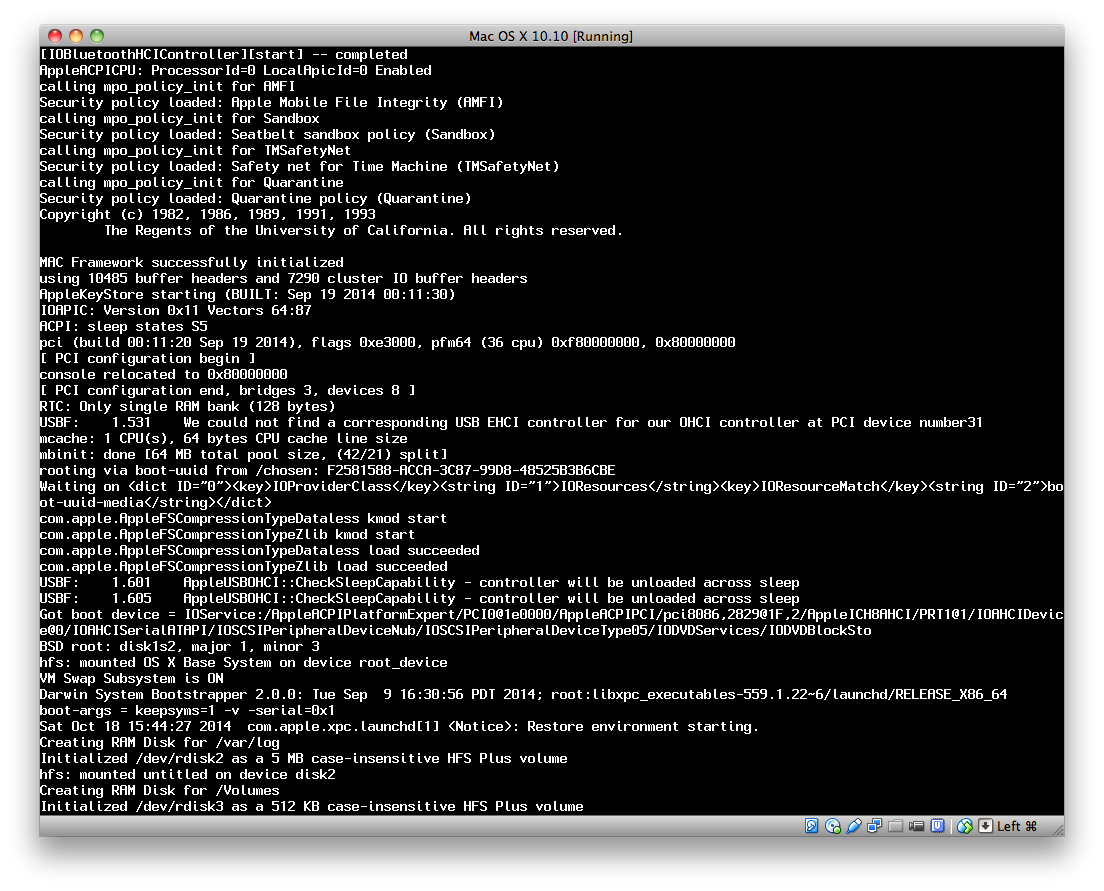
followed by lots of boot messages scrolling by — this is a verbose boot as VirtualBox does it.
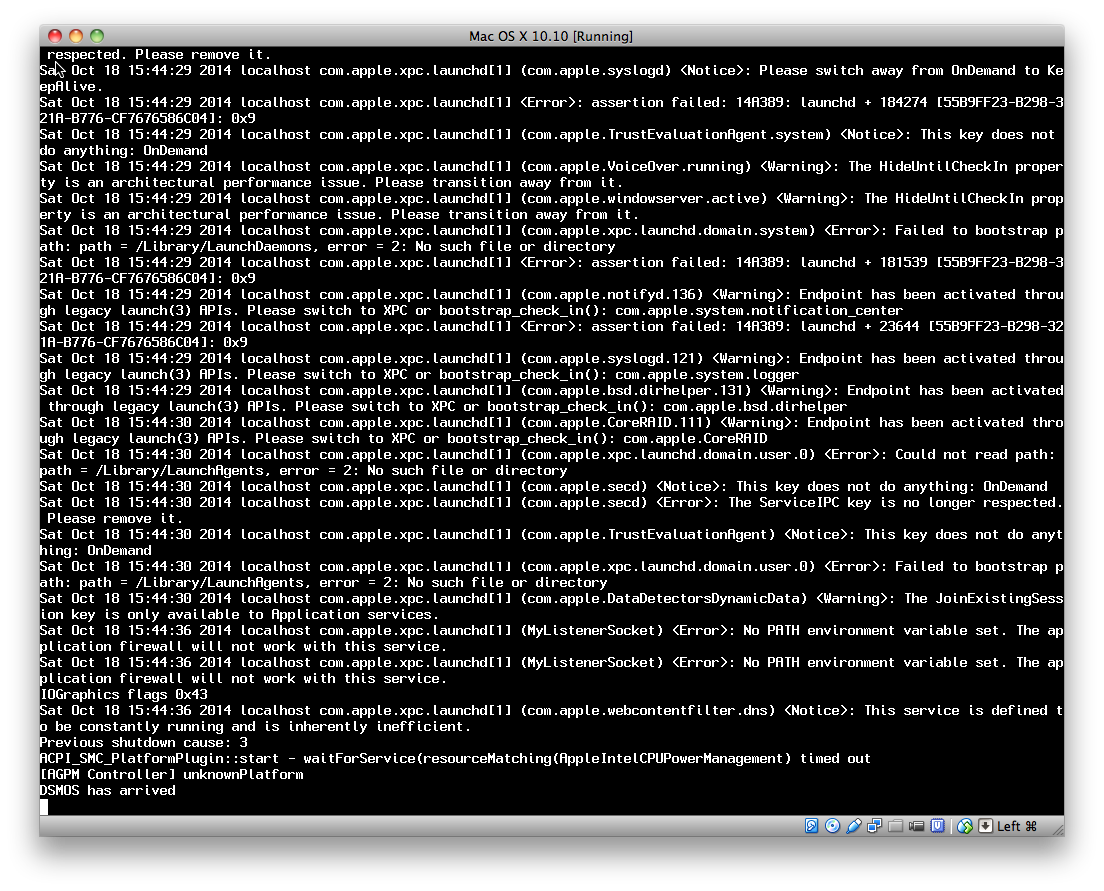
After a while the boot process seems to be stuck with the last message "DSMOS has arrived". Don't panic, this is normal, be patient.
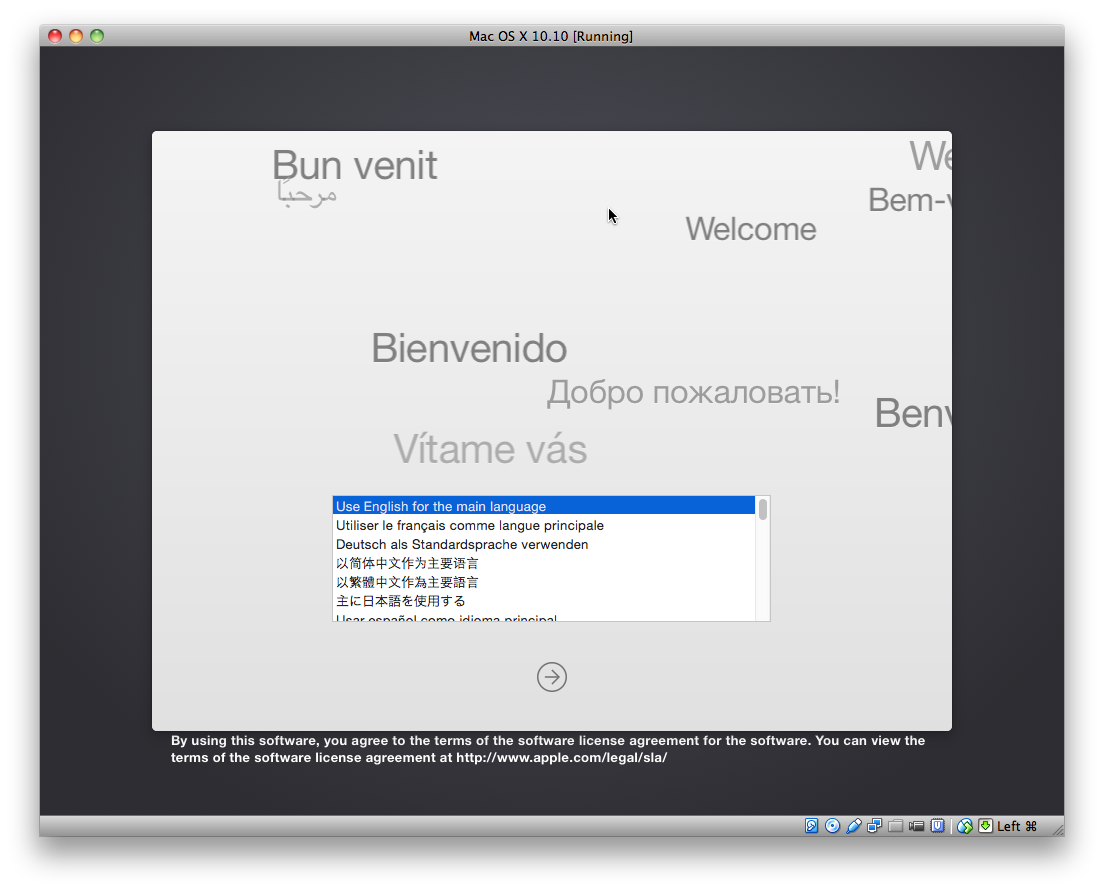
After some time the Welcome and language selection screen will appear. Now you'll also probably hear some crackling sound from your speakers. This is the installer trying to play some music which VirtualBox performs very badly, so bad that even the mouse is stuttering and lagging. Now you can either wait until this "music" ends after a time and the mouse behaves normal again or you use the keyboard (arrow keys and tab) to navigate this screen.
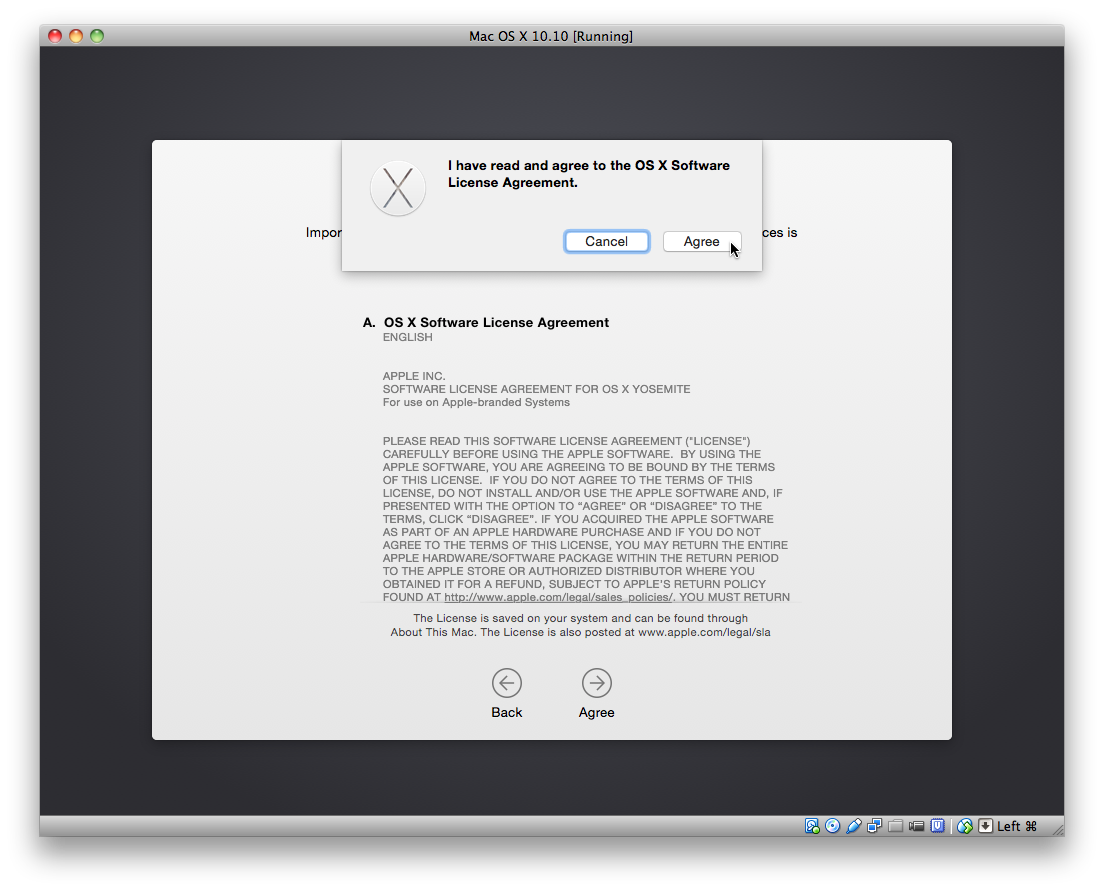
Next this screen appears. Don't click on "Continue" right now, we first need to prepare the virtual hard disk.

Choose "Disk Utility…" from the "Utilities" Menu
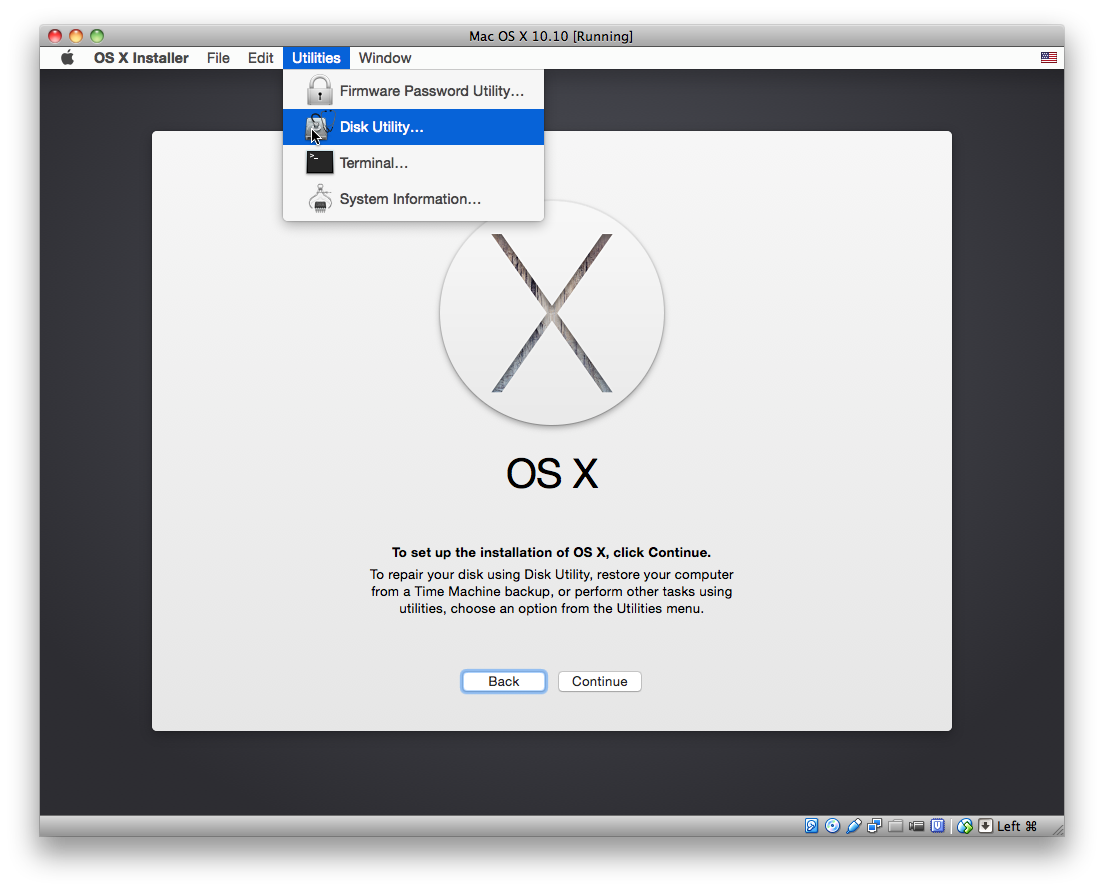
and format the virtual hard disk.
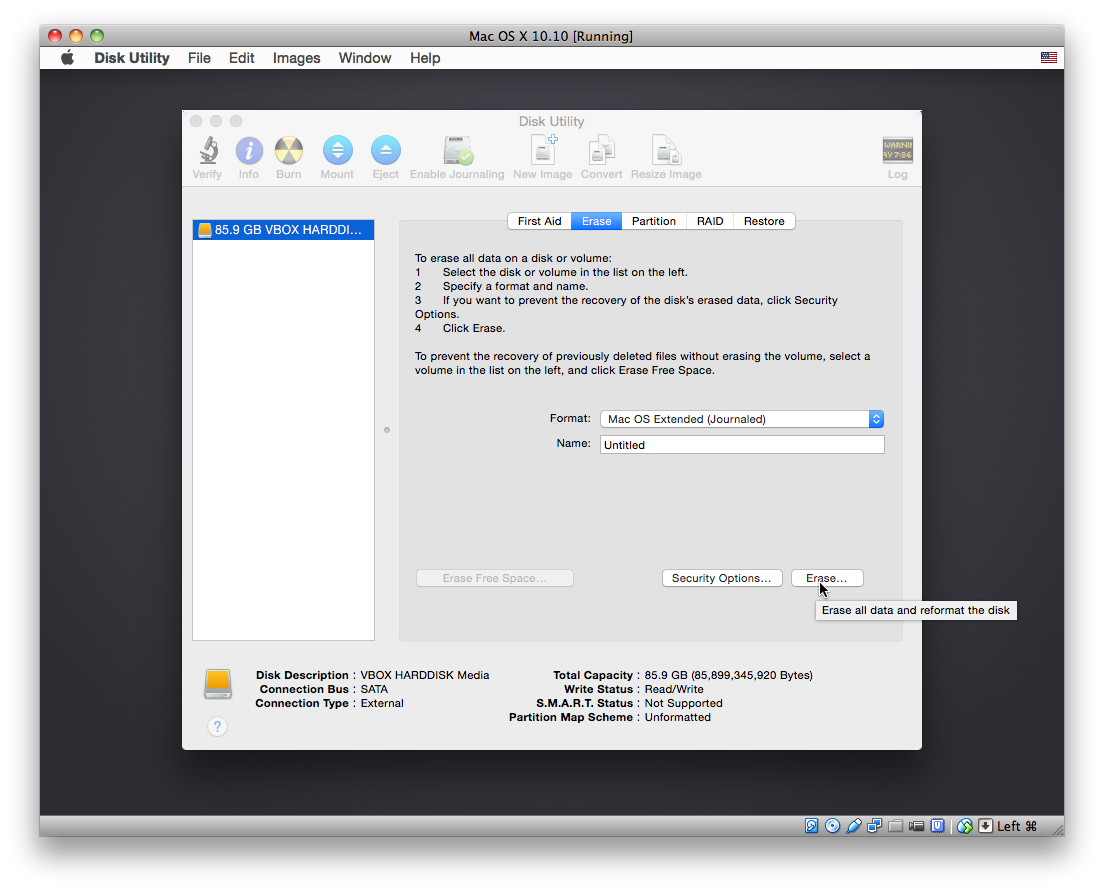


After this Quit Disk Utility and you're back to the Installer screen. Now click "Continue".

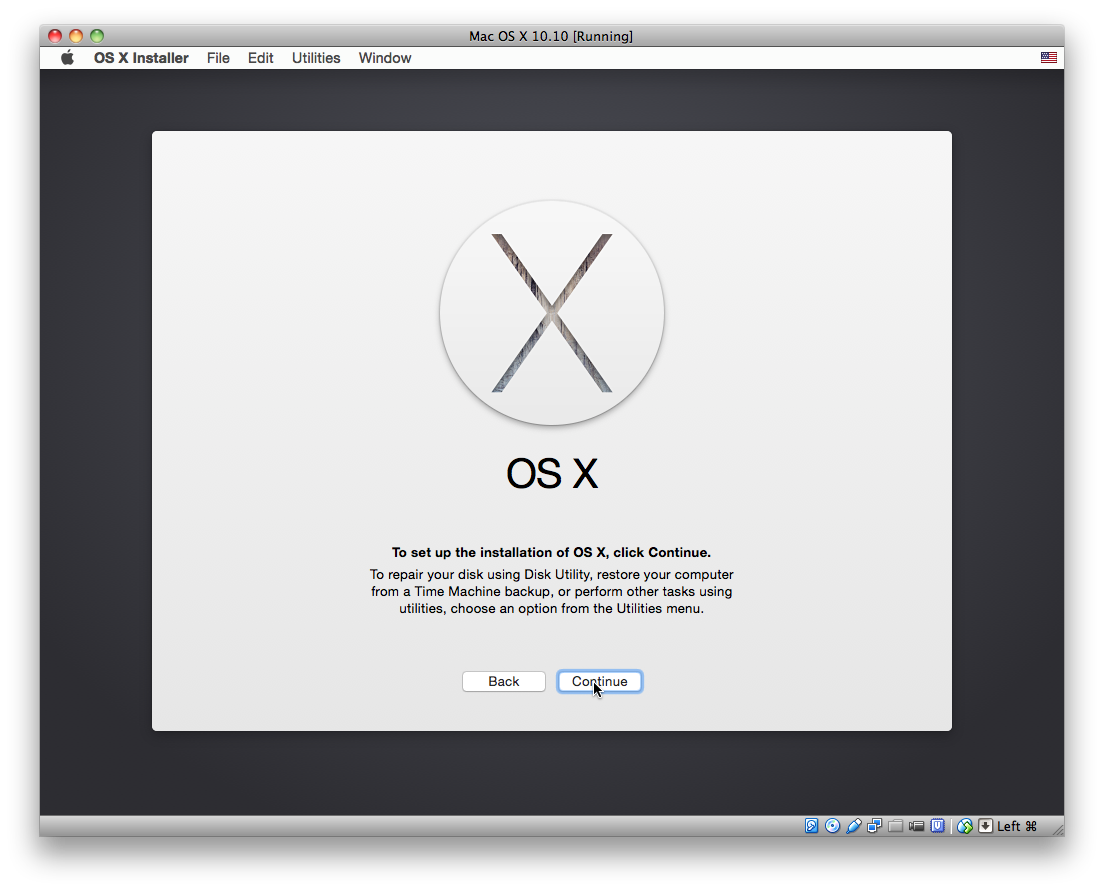


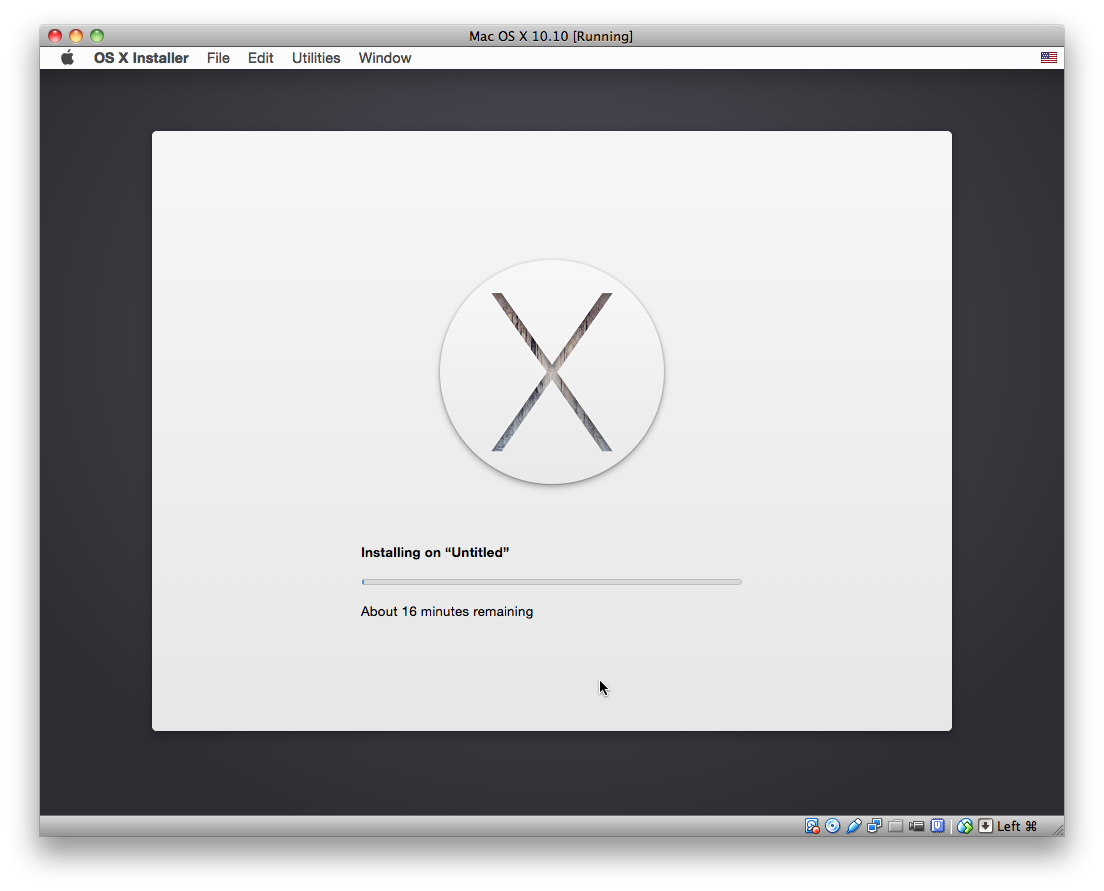
Select the virtual hard disk for installation.


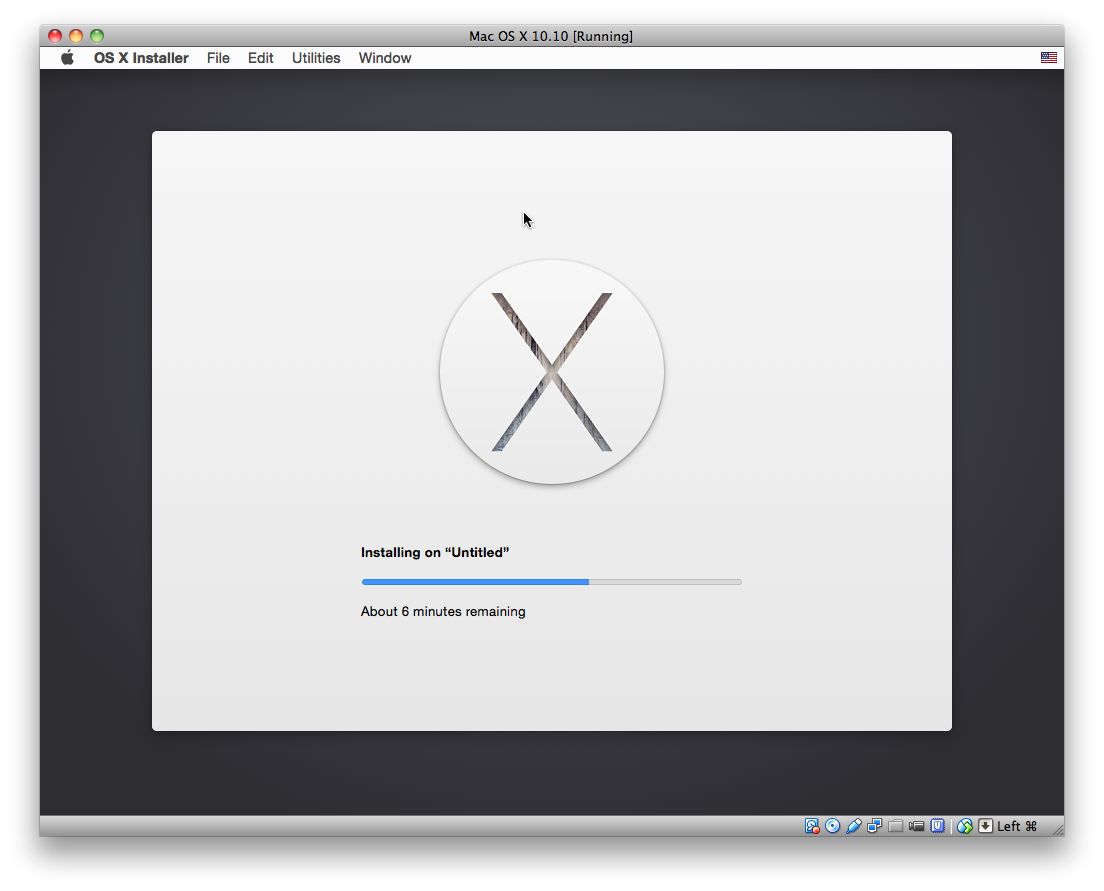
The installation will take some time but require no interaction during this process.

After a reboot you will be asked to select your country (to determine time zones, languages and the like). Again some crackling noise and a stuttering mouse pointer are telling you that VirtualBox is trying to play some "music". Wait for it to end or use the keyboard.


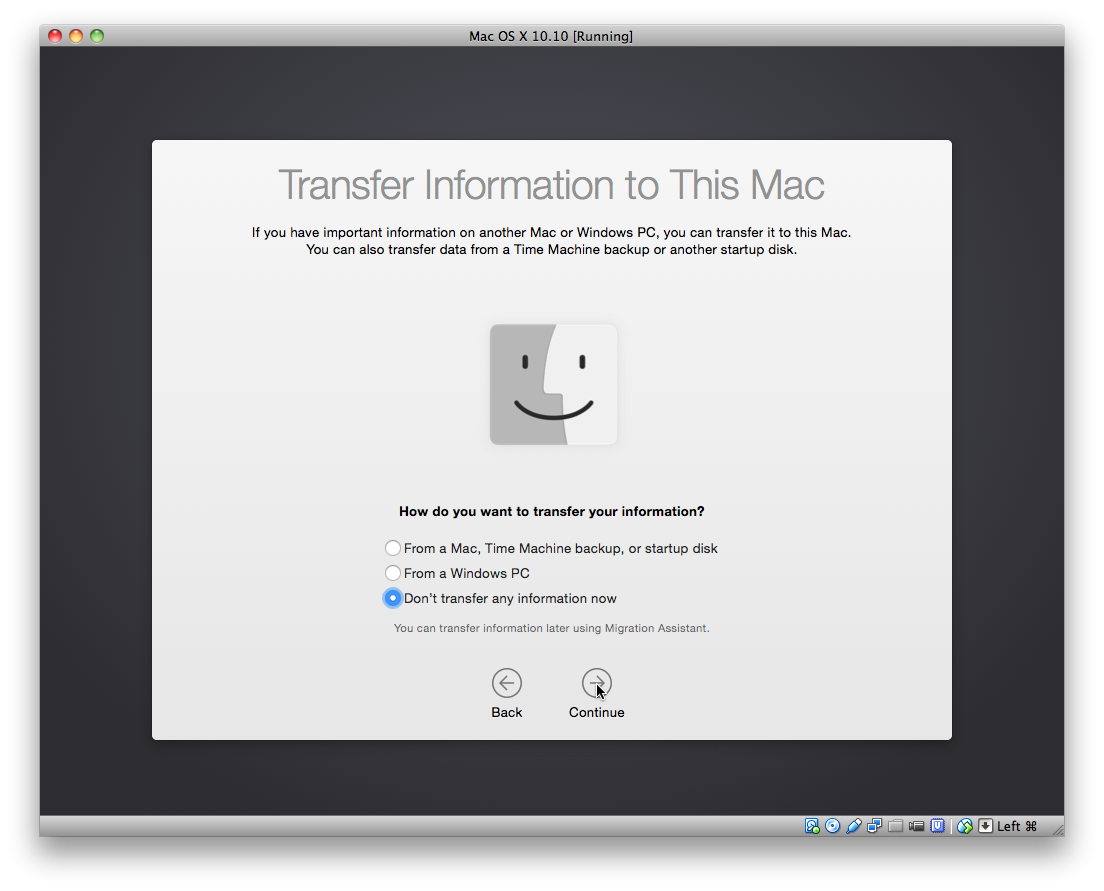
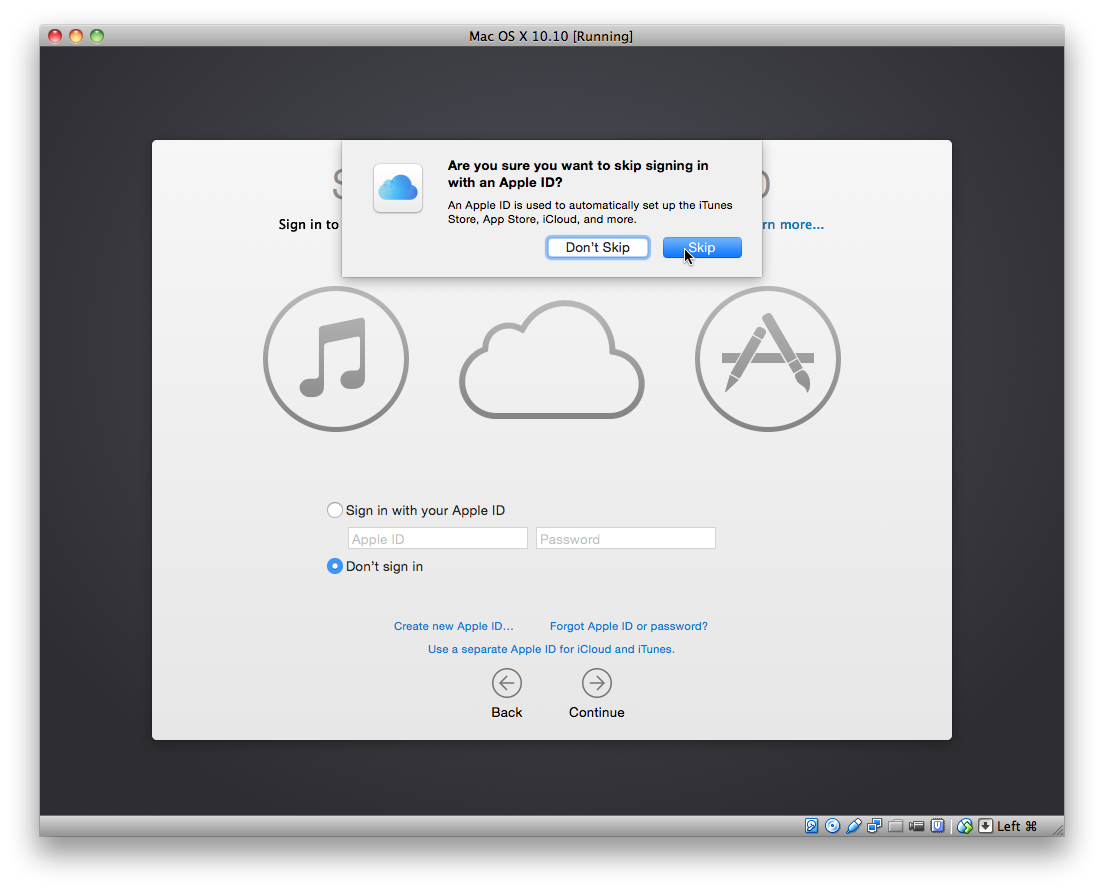
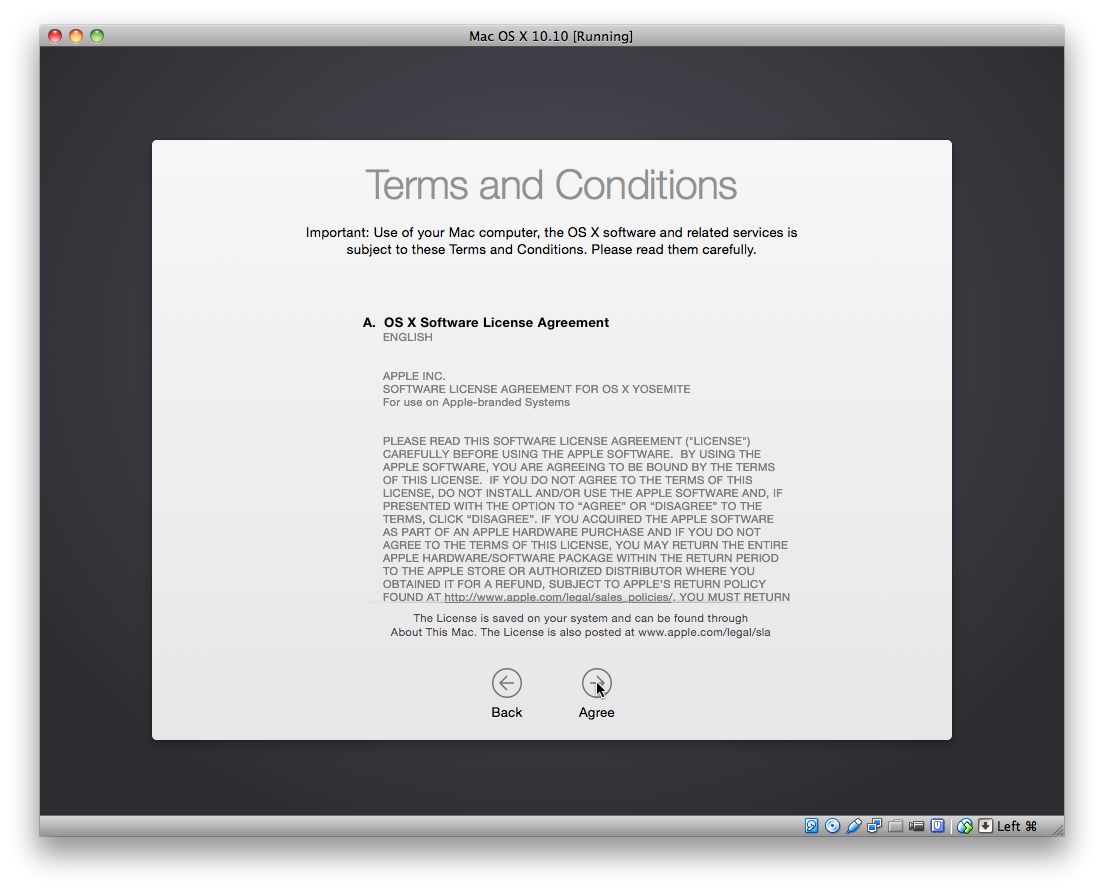
All the following stuff is somewhat self-explanatory and doesn't differ from a normal OS X install.


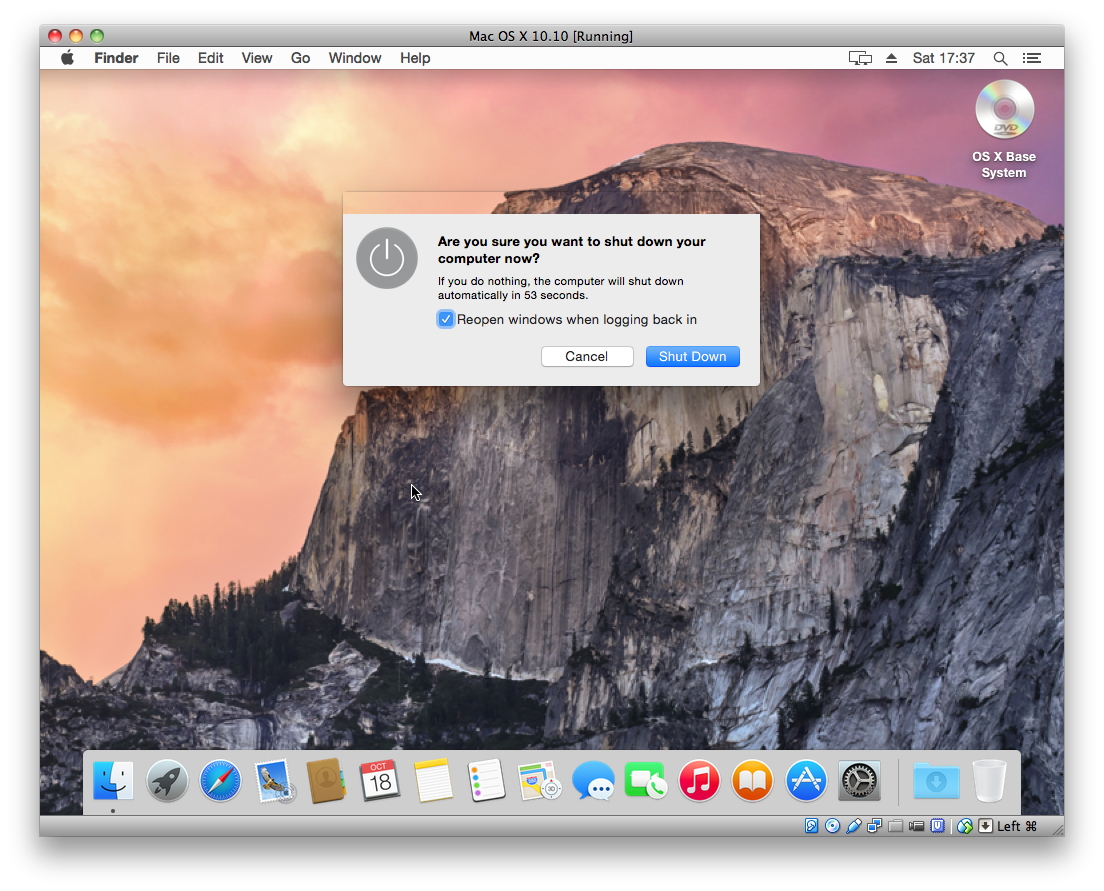
And there it is in all its beauty!

Don't forget to eject the "DVD", e.g. the ISO image or the installation will start again after the next reboot.
Running Yosemite
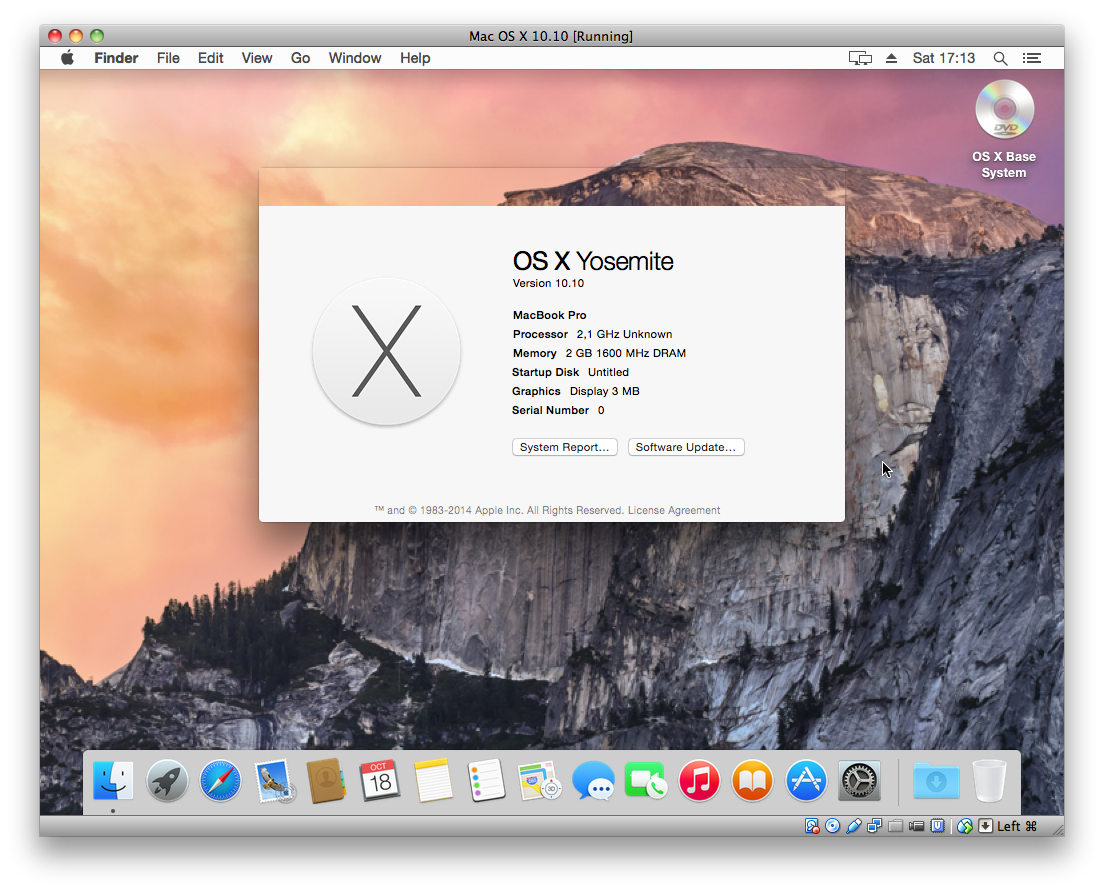
All the 3D acceleration by using OpenGL will not work with this. As you can see by some quirks that originate from the fact, that Yosemite is assuming you're having proper OpenGL (and also OpenCL I guess): look at the corners of the windows and the missing title bar of the about box.

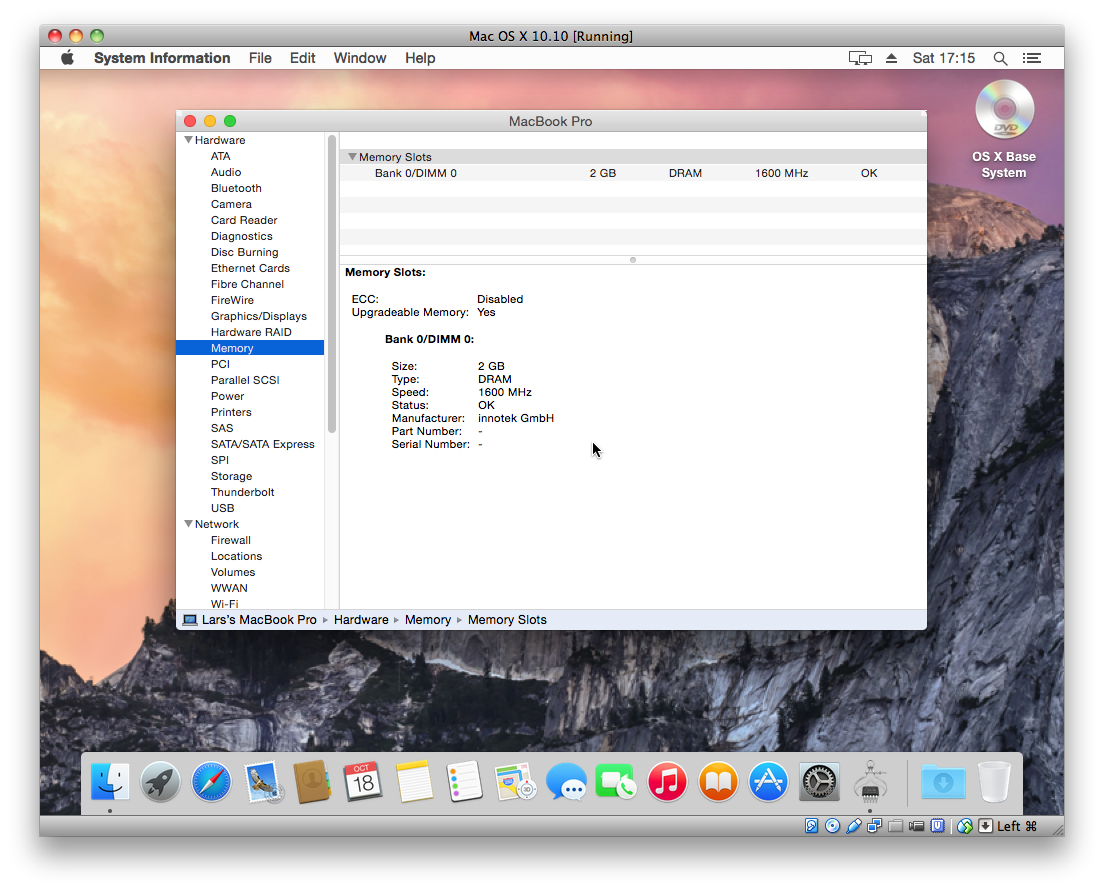
There could also be more RAM but due to https://www.virtualbox.org/ticket/13211 this isn't possible.
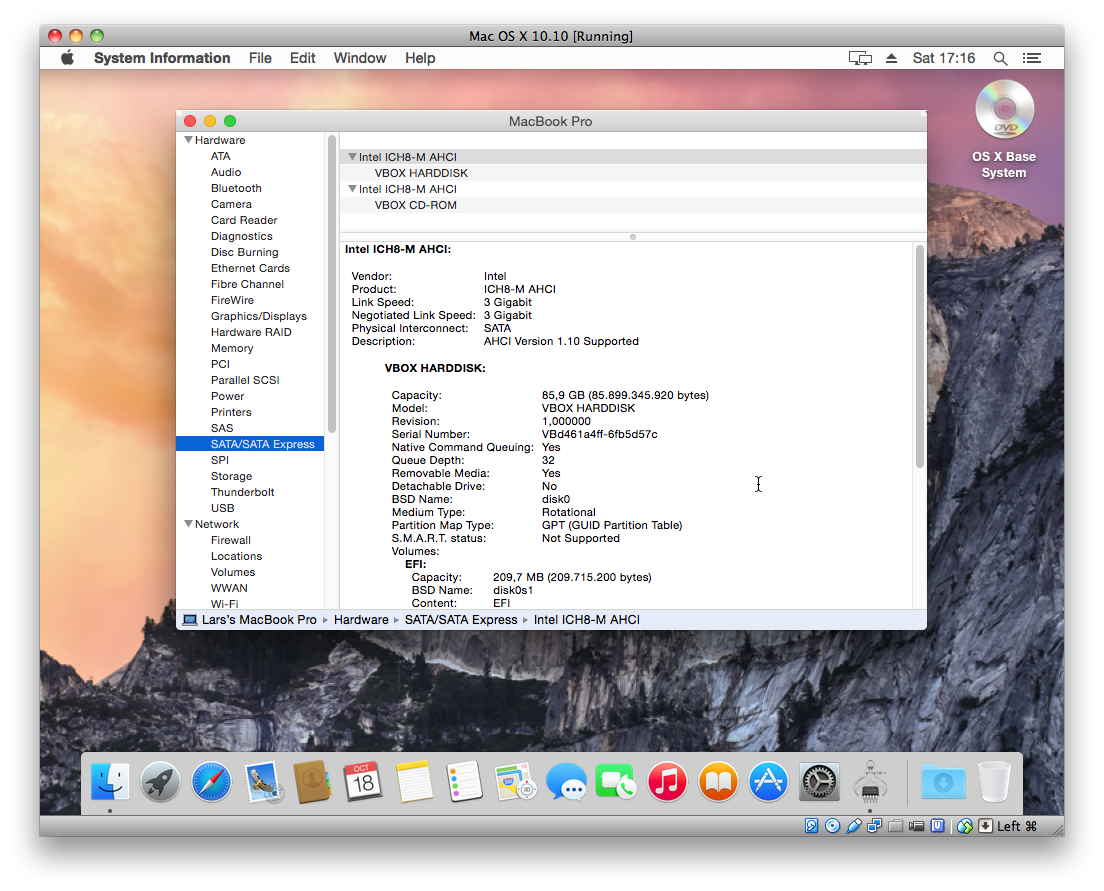
But the virtual disk work pretty good so far.
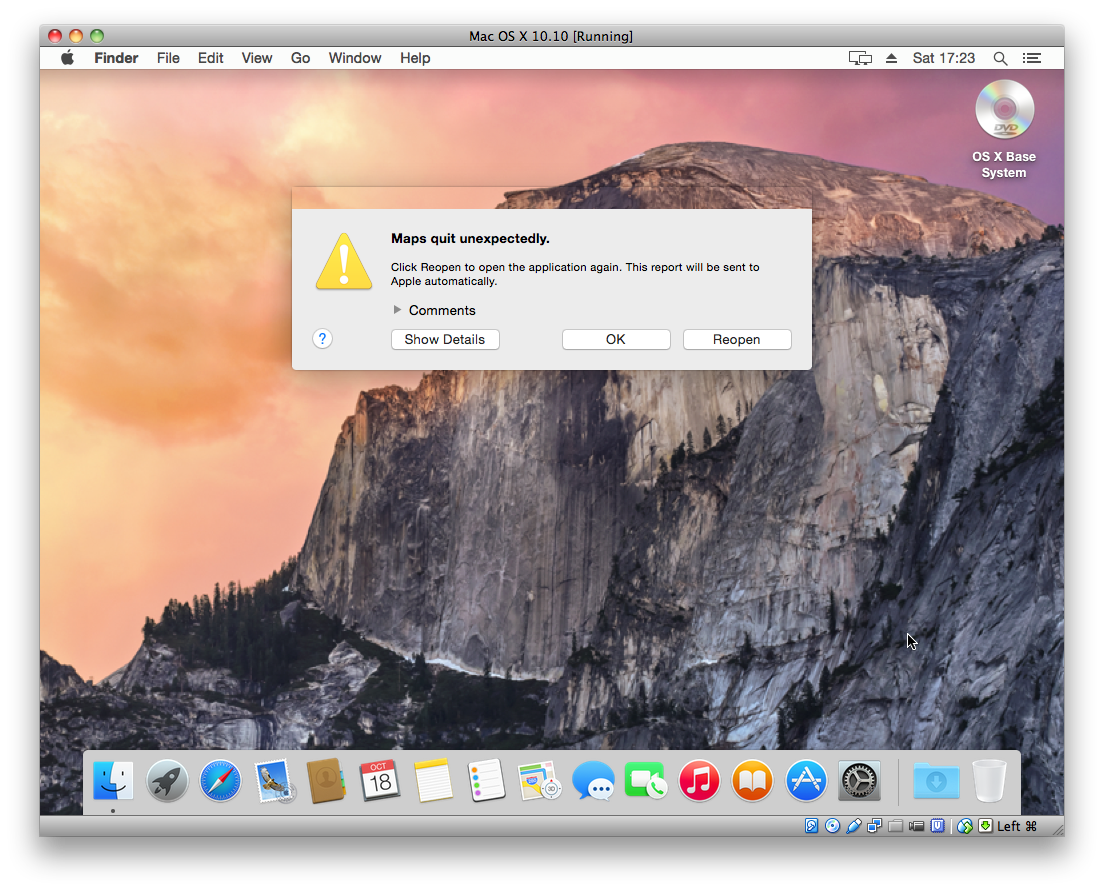
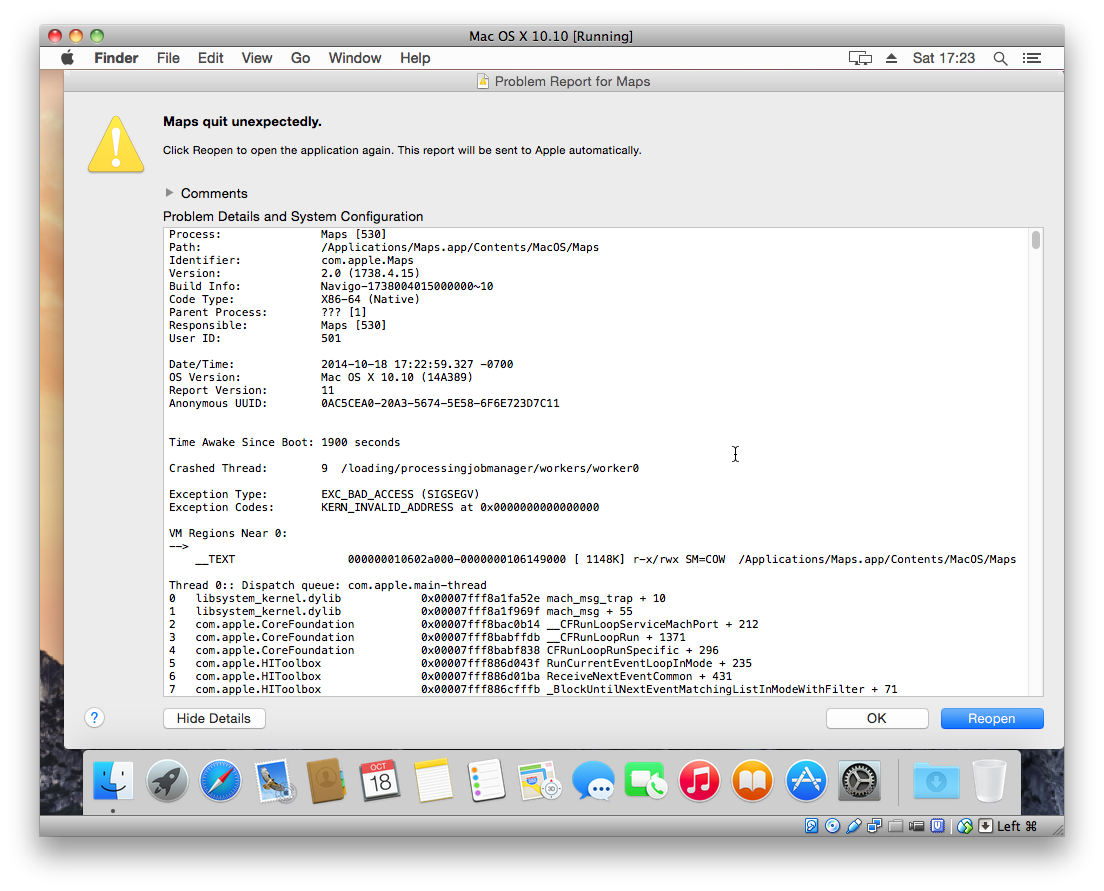
Maps doesn't show a map and even crashes.


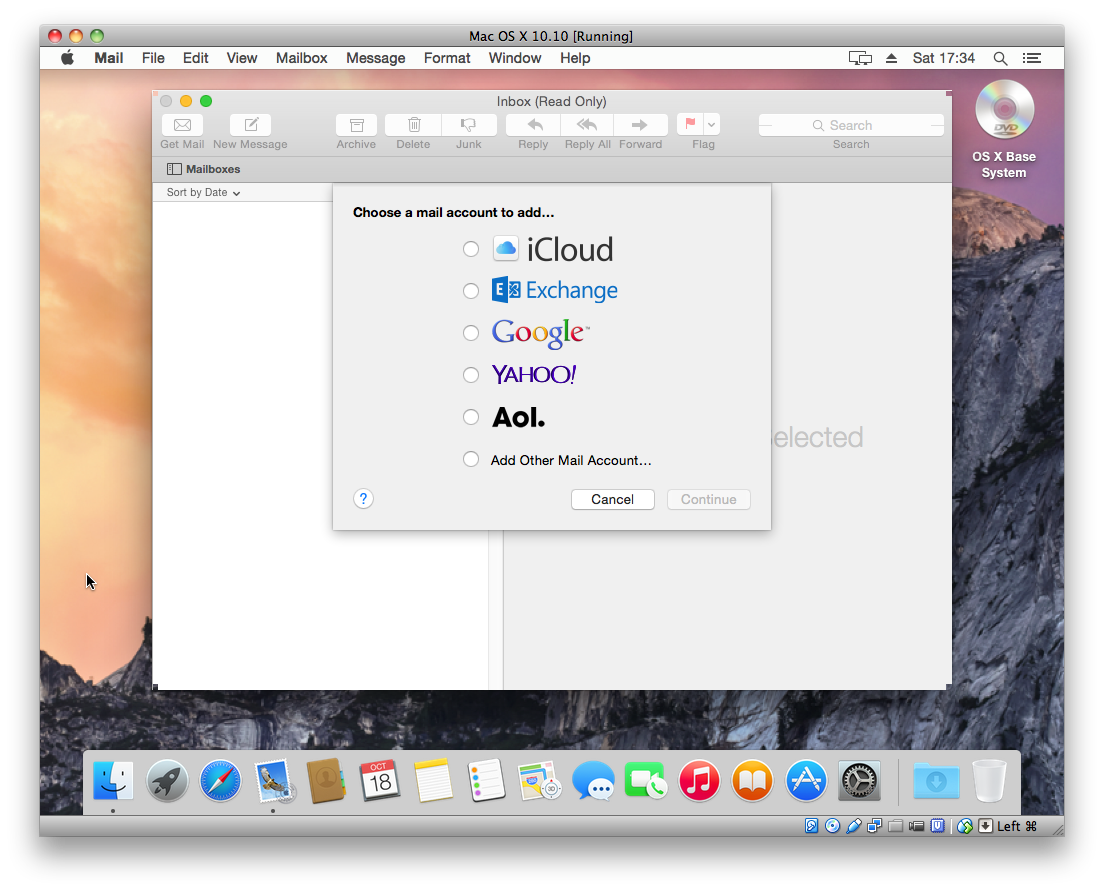
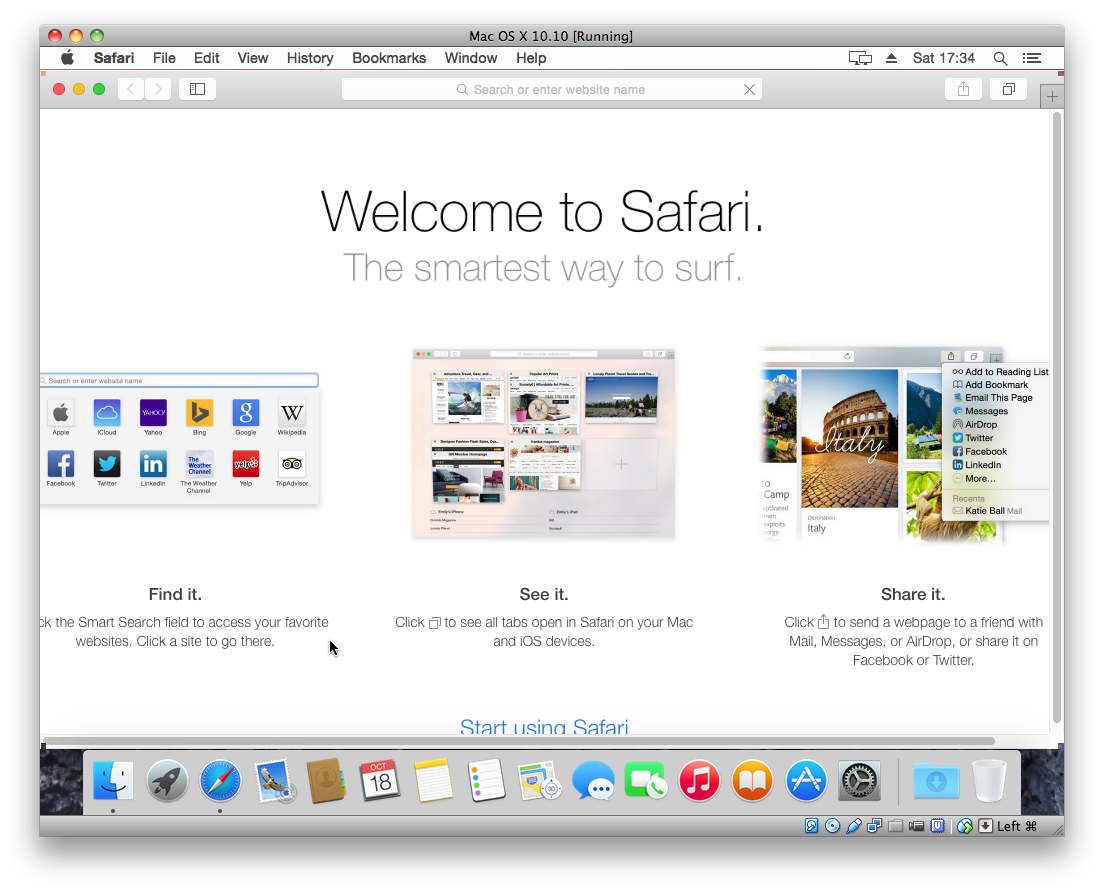
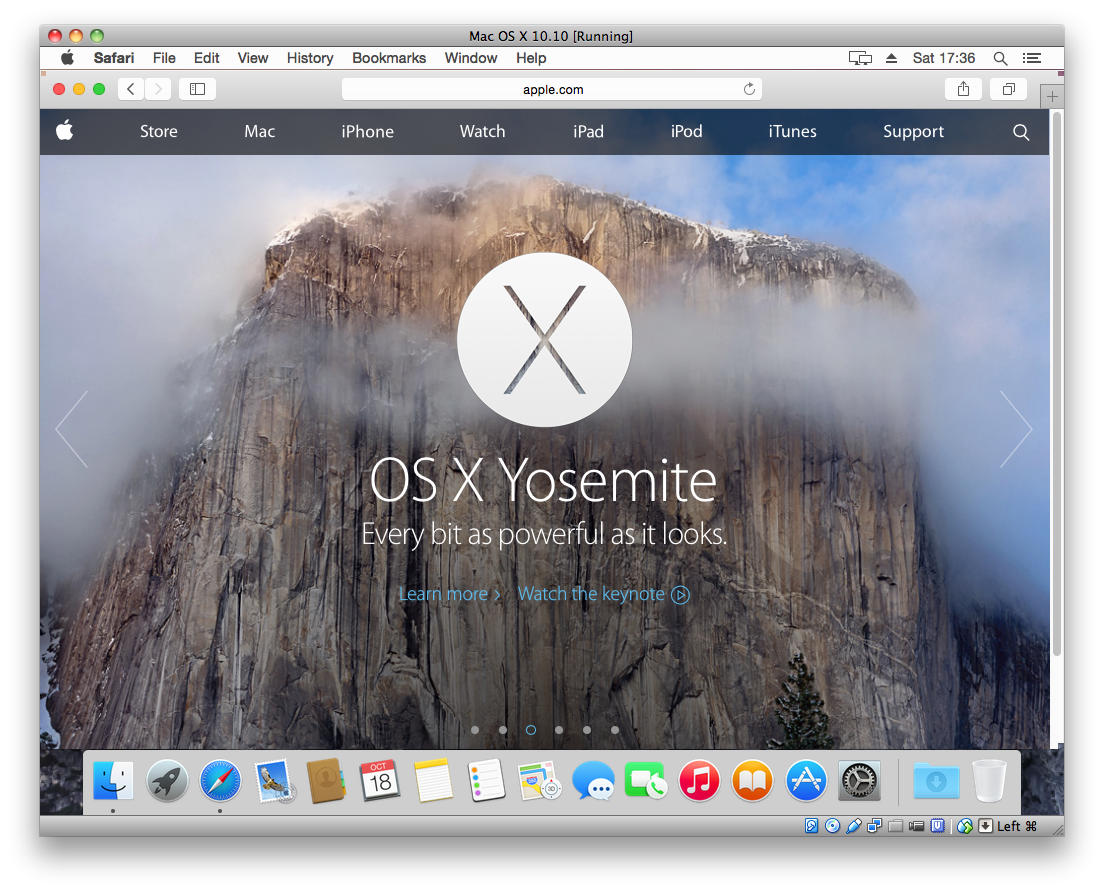
Mail I did not test further and Safari seems to work.
That's it for now.

Have fun!